Monday, October 20, 2014

Halloween Treats

I use these treat bags frequently for different things...for my own children's teachers, for my own children's classmates, my students, my co-workers, my husband's employees...just about anyone!  I love them because you can vary the size of the bag, just by stapling them lower or higher!  Here's how to make them:

The first trick is to get bags that can close.  I actually get mine in the jewelry department at our local craft shop.  My favorite size are 3" X 4", but any size will work.  I think I pay about $3.50 for 100 bags.  (Ignore the fact that these are Thanksgiving treats, it's what I had pictures of!)
 
 I simply staple my bag topper on the opposite end of the zipper closure.  By doing this I can get them all ready to go ahead of time and then just fill them a day or two before I want to hand them out.

In the two pictures above you can see how by changing where I staple them I can make the filling area bigger or smaller....(in case it's hard to tell - the first one is smaller, the second one is almost twice as big...same exact size bag!).

Here are the Halloween ones...just print, write your name, fold, staple, and you're ready to go!
 
Click here for this fun FREEBIE!!  It includes regular pictures, and a few owl ones because my daughter's teacher's classroom theme last year was owls so that's what she wanted hers to be!

Saturday, August 2, 2014

Schedule Cards Owl Theme

One of my teacher friends saw my camping schedule cards and wanted some owl ones.  So alas, I went to work making owl cards for her.  Her cards were customized for the headings she wanted and a slightly different color scheme, so I had to tweak these a bit.  However, they came out pretty cute, if I do say so myself!  I used 8 different backgrounds and there are 56 cards in all.  I wouldn't expect anyone to use them all.  I mean, after all, who does Language Arts, English, and Grammar?!  Surely they call it one thing and then call it a day.  But since I know different people call the same thing by different names, I included a variety of choices.


To purchase these check out my TeachersPayTeachers store!

Tuesday, July 29, 2014

Schedule Cards Camping Theme

Yippee!  One more thing crossed off my list of things to do for the first day of school....my new schedule cards for this year's theme! I used 3 different backgrounds (camouflage, stripes, and stars).  I've got 52 cards in all.  I don't use all of them by any means, but I wanted to put them in my TPT store so I tried to add extra ones that I thought other teachers might like.  I hope you like them!
 
I'm very excited about how great these are going to look up on my assignment board!  To purchase these check out my TeachersPayTeachers store!


Thursday, July 24, 2014

Mini Chart Stand

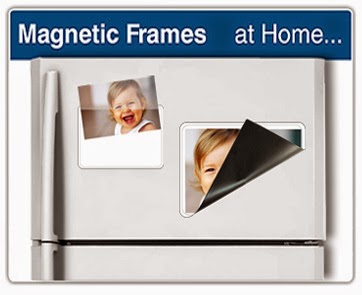
How many anchor charts do you have hanging on walls, on chart stands, or rolled up somewhere in your classroom?  Well, if you're anything like me the number is high!  Last year I made smaller versions of my charts by either redoing the anchor chart on my computer (or sometimes by hand) or taking pictures of the original chart.  Then I'd shrink it down a bit, print it, and put it in 8 X 10 magnetic picture frames I had that looked something like this...


That worked out ok, but they were a little time consuming to slide in the frames, I only had so many frames, and I was limited on  how many magnetic surfaces I had to put them on.  Not to mention, students weren't very independent using them because they weren't really set up for that. 

 
Like many of you, I find Pinterest is my best friend!  While wasting time on perusing Pinterest, I came across several little mini chart stands.  I made a few design changes, and thought I my husband can make those!  So this summer my husband cut some PVC pipe for me, and I made a bunch of mini chart stands, one of which has already been hijacked by one of my teacher friends for her classroom! The stand holds 8 1/2 by 11" paper horizontally or vertically.  I use a 3 hole paper punch to be sure that the holes are the same distance apart on all charts.
 
I plan on having more than one chart stand around the room that my students can use.  I'm thinking at least one for science, math, English, and reading.  I am thinking of painting them (or using washi tape) to coordinate with the colors we use for each subject so they can easily remember which stand to go and look at when they have a question!
 
If you want to purchase one of these for yourself, you can visit my TPT store by clicking here.


Or if you want to make one on your own...I used:
5 - 12" long
4 - 3" long
6 - elbows
2 - tees

Sunday, March 23, 2014

Landform Flipbook

Oh, did we have fun with this one!  Even this year's class, who are not know for their love of coloring, enjoyed this activity!  I sent them home with all the pieces and they had "tv homework" which is where they GET to do their homework while watching tv!  They love those assignments!  I can't really justify taking the time to color in class at this age, so I sent it home, and then they brought it back and we put it together as an end of unit activity.  It then went in their science notebook.  They came out so great...the pictures do NOT do them justice!  I found this activity through Pinterest.  You can find it at Ginger Snaps Treats for Teachers' blog.


The Lorax Bulletin Board

Words cannot express how much I love walking out my classroom door and seeing all of the truffula trees hanging from the ceiling!  This is what I see when I walk out the door!


This is the view looking toward my classroom .


Looking at the board straight on...

 
Here's the sign that's on the top left of the board...
 
 
I had intended to make more of the big truffula trees with the grey/yellow stems, but...1-I didn't love the way they turned out, 2-I made them and not the kids, and 3-the kids' Loraxes took up more of the board than I had originally visualized.  All that said....I love it!  It just shouts spring, which I think most of us can agree we all need right about now!
 
So, my students made all of the truffula trees (flowers) themselves and they came out looking amazing!  Then we incorporated Read Across America with science with the tiny Loraxes.  Students wrote something they thought the Lorax would tell us about conserving our natural resources on the Lorax's belly and they wrote something THEY could do to help conserve our natural resources. 


Saturday, March 22, 2014

New Blog Button

I'm going through Teaching Blog Traffic School and today's homework was to create a blog button.  I previously had one, but it was one I've seen used a lot....so it was time to create a new one!  I created both a square one and a round one....yay me!  What do you think?  The only thing I wish was different is that the neck was closer to the center of the head.  But since I didn't make the clipart, I can't really change that!


Monday, January 13, 2014

Weathering, Erosion, and Deposition Tabbed Book

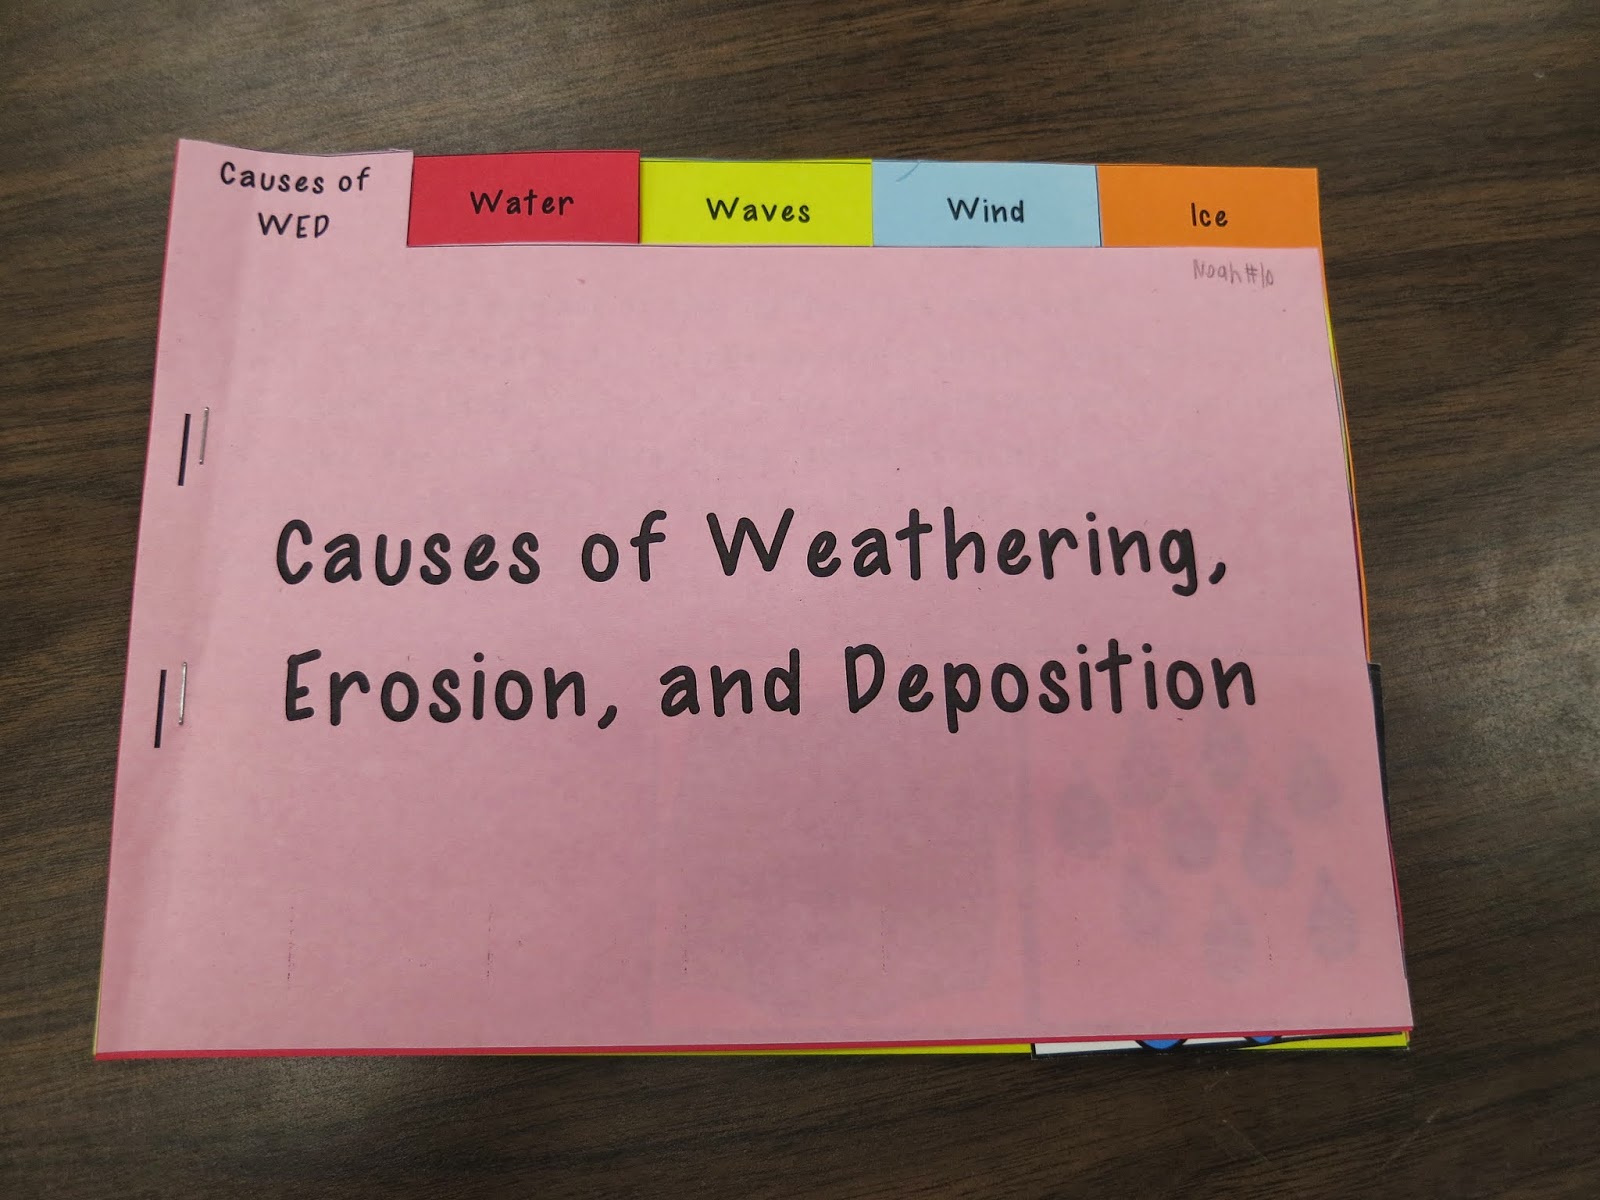
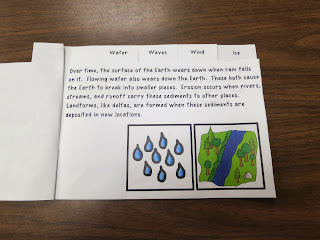
I don't know why, but I love teaching this concept!  Maybe it's because it's so hands-on and fun!  I like to let my students explore WED using hands-on activities with sand.  I put sand in shallow containers (like 9 X 13 baking pans) and then they can explore weathering, erosion, and deposition with a straw (wind), water in a spray bottle (precipitation), and ice cubes (ice).  I also put sand in a paint tray with water in the bottom to represent waves.  After they explore these ideas we put together a tabbed book I made.

This is what the book looks like. It's available on TeachersPayTeachers if you are interested in using this in your classroom! There are two versions of the text (one more simple than the other) and there are options to include or omit the clipart.  My students like it, and I like having something simple for them to refer back to at home!  We read more complex text, but this is to the point, which I think is important, too!


Perimeter and Area Activity

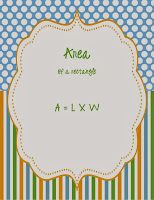
Here's my attempt at making perimeter and area just a little more exciting!  We haven't gotten to area, yet...but I'll be introducing perimeter today.  My students love working in small groups, and they love the dice in dice, so I figure this should be a winner!  Plus, with very little adaptation, they can play it at home and for whatever reason (and I'm not complaining one bit!), this class seems to like to do things at home with their families more than previous classes I've had.  Click HERE to download the activity for free.  Click HERE to download the graph paper to go with the activity.


Saturday, January 4, 2014

Winter Treat Bags - Bag Topper

YAY!  I finally finished my winter treat bags and they came out super cute if I do say so myself!


I have different versions of these toppers for sale, and even some for FREE!!  Keep reading to find the freebie!  The Winter Treats, some are shown above, can be found on Etsy or TPT
 
Clean Desk Snowman


For the most part my students keep their desks neat and tidy, but there's always a little room for improvement. During each month I like to have a clean desk "friend" stop by to help us keep our desks clean.  I had a Clean Desk Turkey in November and Clean Desk Reindeer in December.  During the different times my students are out of the room, our Clean Desk friends stop by and find a desk or two to leave a little note on. Once they get a note, they leave it on their desks. At the end of the week our Clean Desk friend leaves a little treat bag for anyone who has a note on their desk. I don't do these every week, just about once a month. However, since implementing this students have gotten into the habit of keeping their desks clean the majority of the time. Their desks typically look nice and neat and they tend to put things away when they are done using them. I used to take time each month to have everyone pull their things out of their desks, organize, and discard, etc. but now I don't have to! It's win-win! I don't always give food treats. I often give coupons, little erasers, whatever I think will keep them interested :D My goal is that EVERY student gets a treat every time we do it, and so when we get to the end of the week if there is someone who I don't think is going to earn one I might say something like, "The Clean Desk Snowman mentioned earlier that he notice a couple of desks that had random paper in them instead of paper being in folders." This helps those students pinpoint what they need to do to earn their note.  FREEBIE ALERT!!! The Clean Desk Snowman can also be found on TPT, but it's FREE!! 
 
Snowman Soup
 
 
Oh, no!  Mr. Snowman has melted!!  I also did some bag toppers for snowman soup!   You can fill with just marshmallows, white jelly beans, etc. or fill with marshmallows, pretzels (snowman's arms), Junior Mint (snowman's hat), candy corn (snowman's nose), M&M's (snowman's buttons), chocolate chips (eyes and mouth), etc.  You can find this one on Etsy.
 
I hope you enjoy your freebie :D  Happy teaching!